- Model or Input validation in ASP.Net Core
- Basics of ASP.Net Core
- Caching in ASP.Net Core
- Rate Limiting in API
- Nunit Test for Model Validation
- Serilog in Web API to Store Logs
- Web API Crud using Stored Procedures
- Auto Mapper in ASP.Net Core
- Crud on Bulk Data
- Import Data Excel to DB
- Export Data in Excel
- ViewBag in MVC Core
- ViewData in MVC Core
- Service Lifetime in MVC Core
- LINQ Queries
- JWT Token in ASP Core
- ViewModel in MVC
- Custom MiddileWare
- Global Exception Handling using Custom Middileware
- Exception Filter
- Dropdownlist in ASP Core
- Authentication in MVC
- MVC Crud with ADO
- Paging in MVC
- Casecading Dropdown
- First React Project
- Hooks in React
- React Crud with API Core
- Save Image in DB
- MVC Core Charts
- State Management
- Session in ASP Core
- Design Patterns
- Singleton Pattern
- Dependency Injection
- Keyed Services Dependency Injection
- Repository Pattern
- Factory Pattern
JWT Token Authentication in ASP.NET Core
JWT Json Web Token :- JWT is the very popular way to authenticate the request coming from client and authenticated by the Server using a Secret Key and a encryption algorithms. It is the digital agreement between the sender and reciever to veryfies that imcoming request are coming from the authenticated user or source.
JWT is an open standard to allows the data transmission in a secure way between two parties with a generated token and sender needs to append that token into the Header. This token as a expiration time after that client needs to regenerate it.
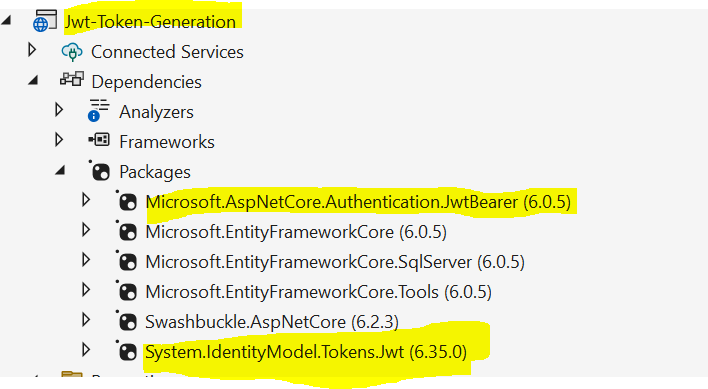
To implement JWT token authentication in asp core application we need below packages.
- MIcrosoft.AspNetCore.Authentication.JwtBearer
- System.IdentityModel.Tokens.Jwt
- Microsoft.EntityFrameworkCore
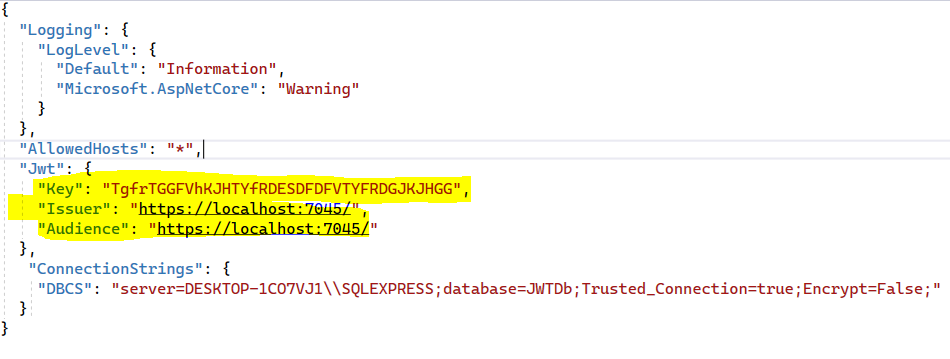
After installing the packages we need to add few items into the appsettings.jso file for Jwt Key used for Secret Key, Issuer and Audience as shown in below image.
After setting up the appsettings.json file we need to create a Model Class for checking the user login credentials from the database based on user requests. Below is the Model class with code example.
public class UserModel
{
public string UserName { get; set; }
public string Password { get; set; }
public string Email { get; set; }
public string Roles { get; set; }
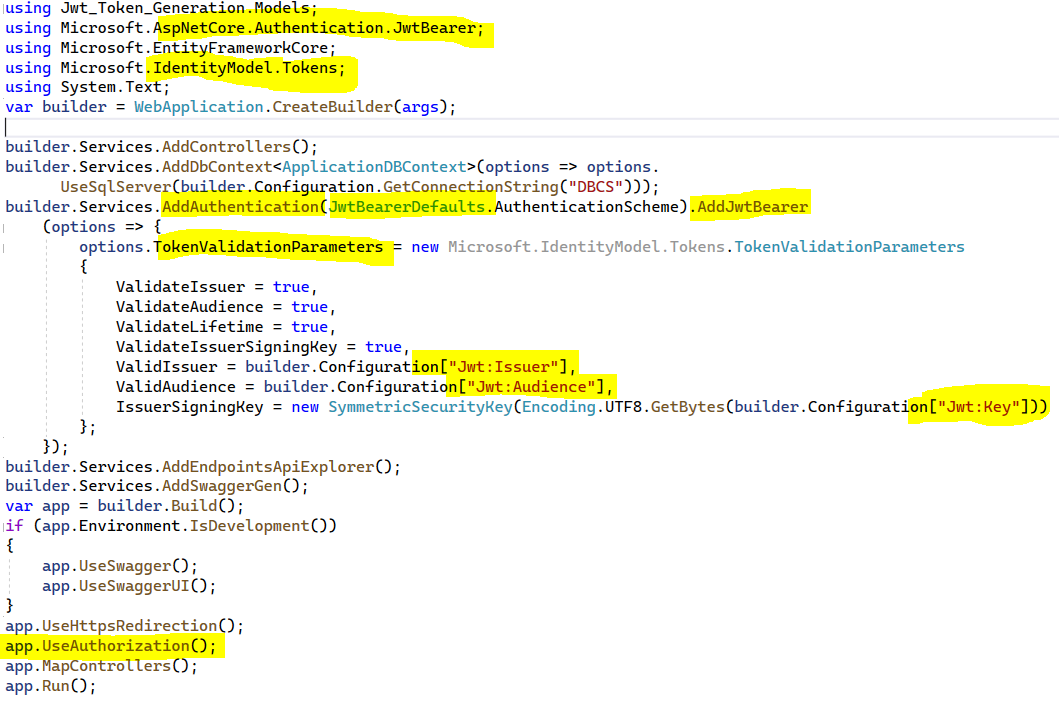
} After Creating the Model class we need to add a Middileware for JWT authentication into the Program.cs file as shown in below code example.
using Jwt_Token_Generation.Models;
using Microsoft.AspNetCore.Authentication.JwtBearer;
using Microsoft.EntityFrameworkCore;
using Microsoft.IdentityModel.Tokens;
using System.Text;
var builder = WebApplication.CreateBuilder(args);

builder.Services.AddControllers();
builder.Services.AddDbContext
    (options => options.
UseSqlServer(builder.Configuration.
GetConnectionString("DBCS")));
builder.Services.AddAuthentication
(JwtBearerDefaults.AuthenticationScheme)
.AddJwtBearer(options => {
options.TokenValidationParameters = new
Microsoft.IdentityModel.Tokens.TokenValidationParameters
 {
     ValidateIssuer = true,
     ValidateAudience = true,
     ValidateLifetime = true,
     ValidateIssuerSigningKey = true,
     ValidIssuer = builder.Configuration["Jwt:Issuer"],
     ValidAudience = builder.Configuration["Jwt:Audience"],
     IssuerSigningKey = new
     SymmetricSecurityKey(Encoding.UTF8.
     GetBytes(builder.Configuration["Jwt:Key"]))
  };
});
builder.Services.AddEndpointsApiExplorer();
builder.Services.AddSwaggerGen();
var app = builder.Build();
if (app.Environment.IsDevelopment())
{
    app.UseSwagger();
    app.UseSwaggerUI();
}
app.UseHttpsRedirection();
app.UseAuthorization();
app.MapControllers();
app.Run();
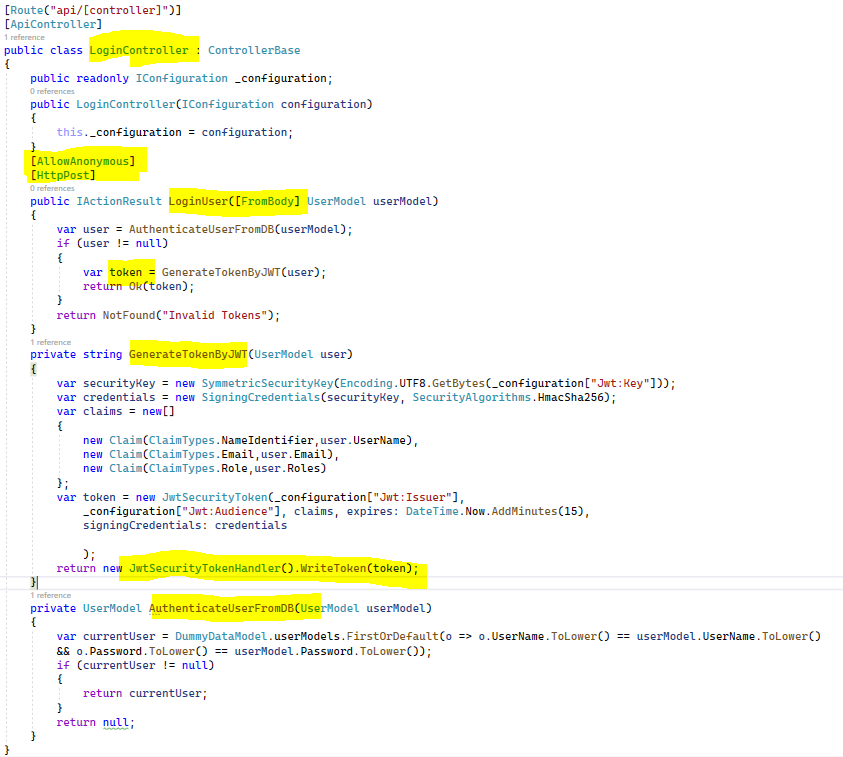
After Creating the editing the Program.cs files we need to create a controller and write the action methods for data manipulation from database as shown in below code example.
public class LoginController : ControllerBase
{
 public readonly IConfiguration _configuration;
 public LoginController(IConfiguration configuration)
  {
      this._configuration = configuration;
  }
  [AllowAnonymous]
  [HttpPost]
  public IActionResult LoginUser([FromBody]
  UserModel userModel)
  {
      var user = AuthenticateUserFromDB(userModel);
      if (user != null)
      {
        var token = GenerateTokenByJWT(user);
        return Ok(token);
      }
      return NotFound("Invalid Tokens");
  }
  private string GenerateTokenByJWT(UserModel user)
  {
    var securityKey = new SymmetricSecurityKey(Encoding.
    UTF8.GetBytes(_configuration["Jwt:Key"]));
    var credentials = new SigningCredentials(
    securityKey, SecurityAlgorithms.HmacSha256);
    var claims = new[]{
    new Claim(ClaimTypes.NameIdentifier,user.UserName),
    new Claim(ClaimTypes.Email,user.Email),
    new Claim(ClaimTypes.Role,user.Roles)
    };
    var token = new JwtSecurityToken
    (_configuration["Jwt:Issuer"],
    _configuration["Jwt:Audience"], claims,
    expires: DateTime.Now.AddMinutes(15),
    signingCredentials: credentials
    );
    return new JwtSecurityTokenHandler().WriteToken(token);
}
Private UserModel AuthenticateUserFromDB
(UserModel userModel){
 var currentUser = DummyDataModel.userModels.
 FirstOrDefault(o => o.UserName.ToLower() ==
 userModel.UserName.ToLower()
 && o.Password.ToLower() ==
 userModel.Password.ToLower());
 if (currentUser != null){
     return currentUser;
 }return null;}
 }
In this tutorials we are using some dummy data and it is not from the database so you need to create a class and hardcoded the data as shown below.
public class DummyDataModel
{
//Dummy data is used for example purpose
//you can fetch it from database
public static List
userModels = new List()
{
new UserModel{UserName="Jonty"
,Password="Rodes",
Email="jon*****rd**gmail.com",
Roles="Admin"},
new UserModel{UserName="Jerry"
,Password="folkan",
Email="jer*****fol*******gmail.com",
Roles="Developer"},
new UserModel{UserName="Andrew"
,Password="Saffer",
Email="andy1******saf*****gmail.com"
,Roles="Admin"},
new UserModel{UserName="John"
,Password="formhals",
Email="john45******for******gmail.com"
,Roles="Developer"},
};
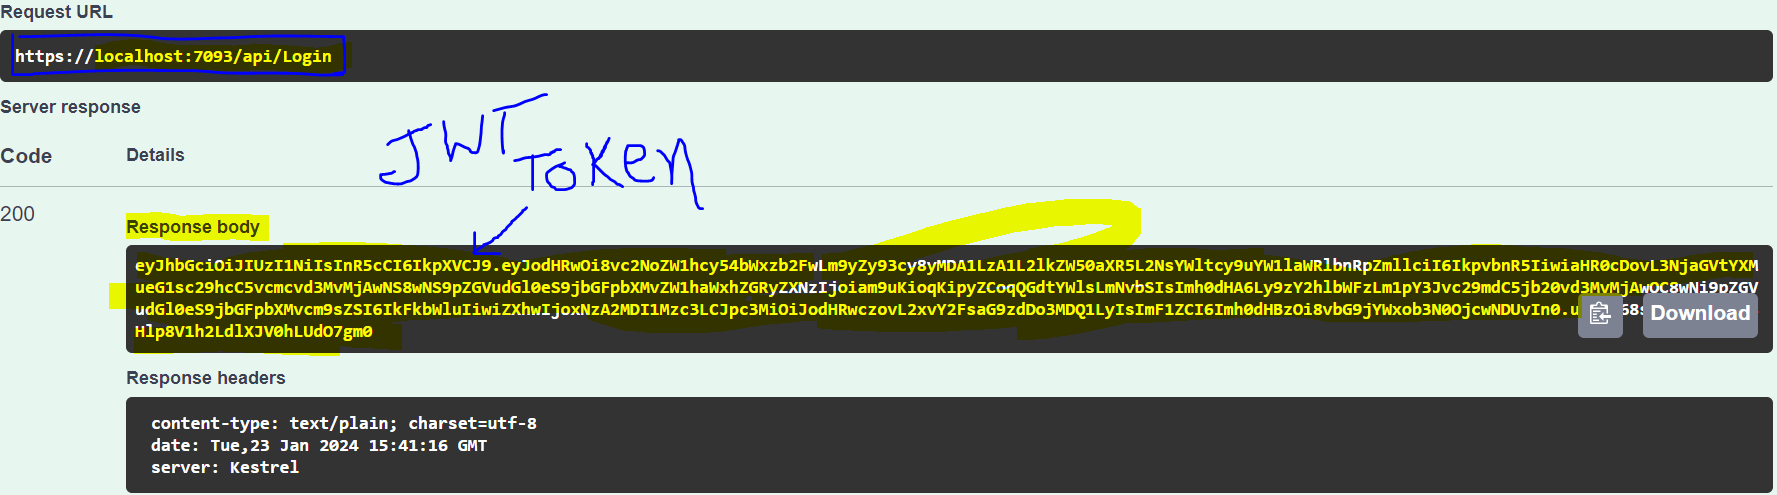
} Now run the application and hit the api url and you can get a Token as shown in below image.